I’ve been changing direction of my art a bit, (some people would say a lot) recently. I have still done some felting, making a couple of cute birdies as birthday gifts. Beyond that I have taken to fabric collage, and sewing, to create my art.
Why, you might ask, and I don’t know the answer other than to say that every now and again I get the urge to try something completely different. I’m continuing with the felting, and this fabric work seems sort of a natural development out of that. It feels to me a lot like painting and sketching — just using a different medium. Probably sounds crazy, but being creative doesn’t have to be a singular thing. Expressing yourself can take many forms. Part of being creative for me is paying attention to current experiences –– what brings me joy, what excites and enthralls me? Finding new ways to express and interpret that is a lot of fun. Artists have a unique way of seeing the world — the weirdest things can inspire and intrigue—well for me anyway!

Seahorse Shower Curtain
Many years ago I took a fabric collage class with my friend Sue, in Ashland, OR, at the quilt store https://www.sewcreativeashland.com/. It was a completely new experience for me and I enjoyed it. The process involves ironing double sided adhesive to fabric, then cutting the fabric into shapes and applying it to a base to fill in an outline from a pattern. You can layer the fabric and create all kinds of fun effects. At the conclusion of the class I ended up with a large collaged seahorse, which I ultimately used to make a fabulous shower curtain. However, I never used the process again — until this summer when I used it to make a Christmas themed table runner.

Christmas Table runner.
Inspired by my recent trips I decided to use some of my fabric stash and, using that same process, create a fabric collage of a bison. I still had the Steam a Seam 2 adhesive to make the collage and having created an outline, I had fun filling in the shape with bits from my fabric collection, (some of which I had bought on my trip to the South West.) I originally had the idea to make this project into another table runner, but once the bison was complete, I realized I didn’t want anyone putting their coffee cups on him! So he became a wall hanging. While I was making the Bison I was also working on a cowboy boot. I had intended to make more than one - because what use is one boot (duh!), but instead I moved on to another way of collaging with fabric.

Fabric Collaged Buffalo

Fabric Collage - solitary Cowboy Boot
Pinterest drags me down many rabbit holes and a recent one was something called slow stitching. It’s a meditative embroidery process involving covering fabric in stitches. I decided to try it, but of course I never do anything in it’s pure form. Below is #1, utilizing some fabric that I had stained with tea and rust (another Pinterest rabbit hole). I working intuitively and had fun relearning some embroidery stitches that I haven’t done in 30 or 40 years!

Slow stitch #1, 12” x 12”. Fabric, lace, buttons, wood cutout, ribbon.
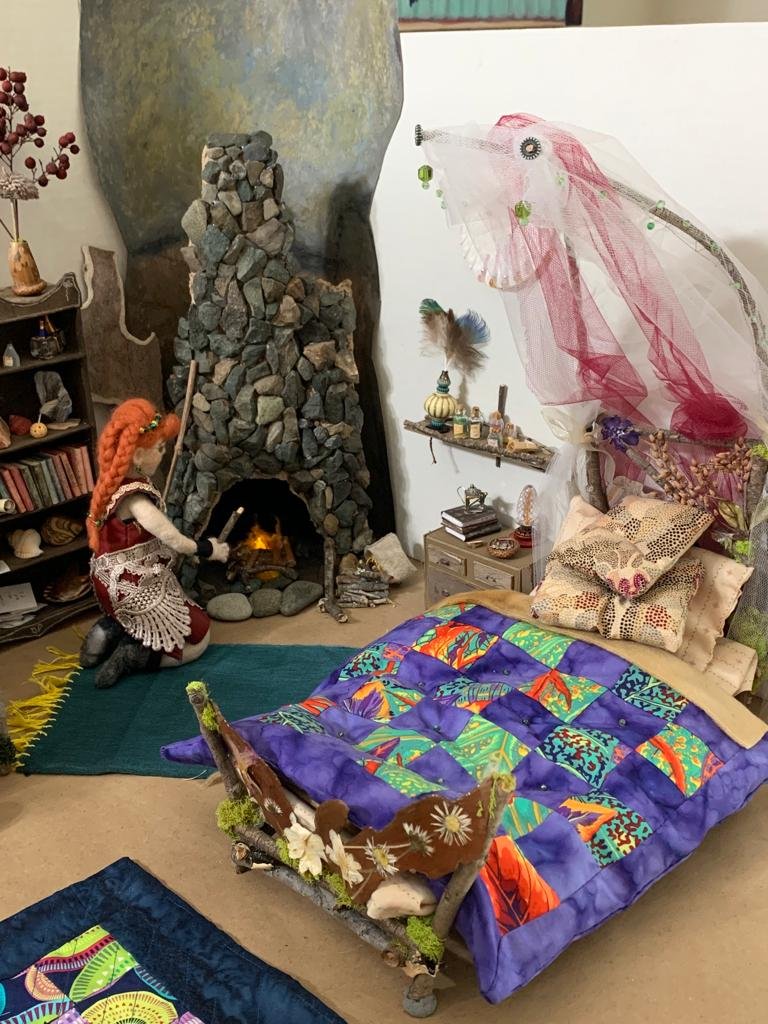
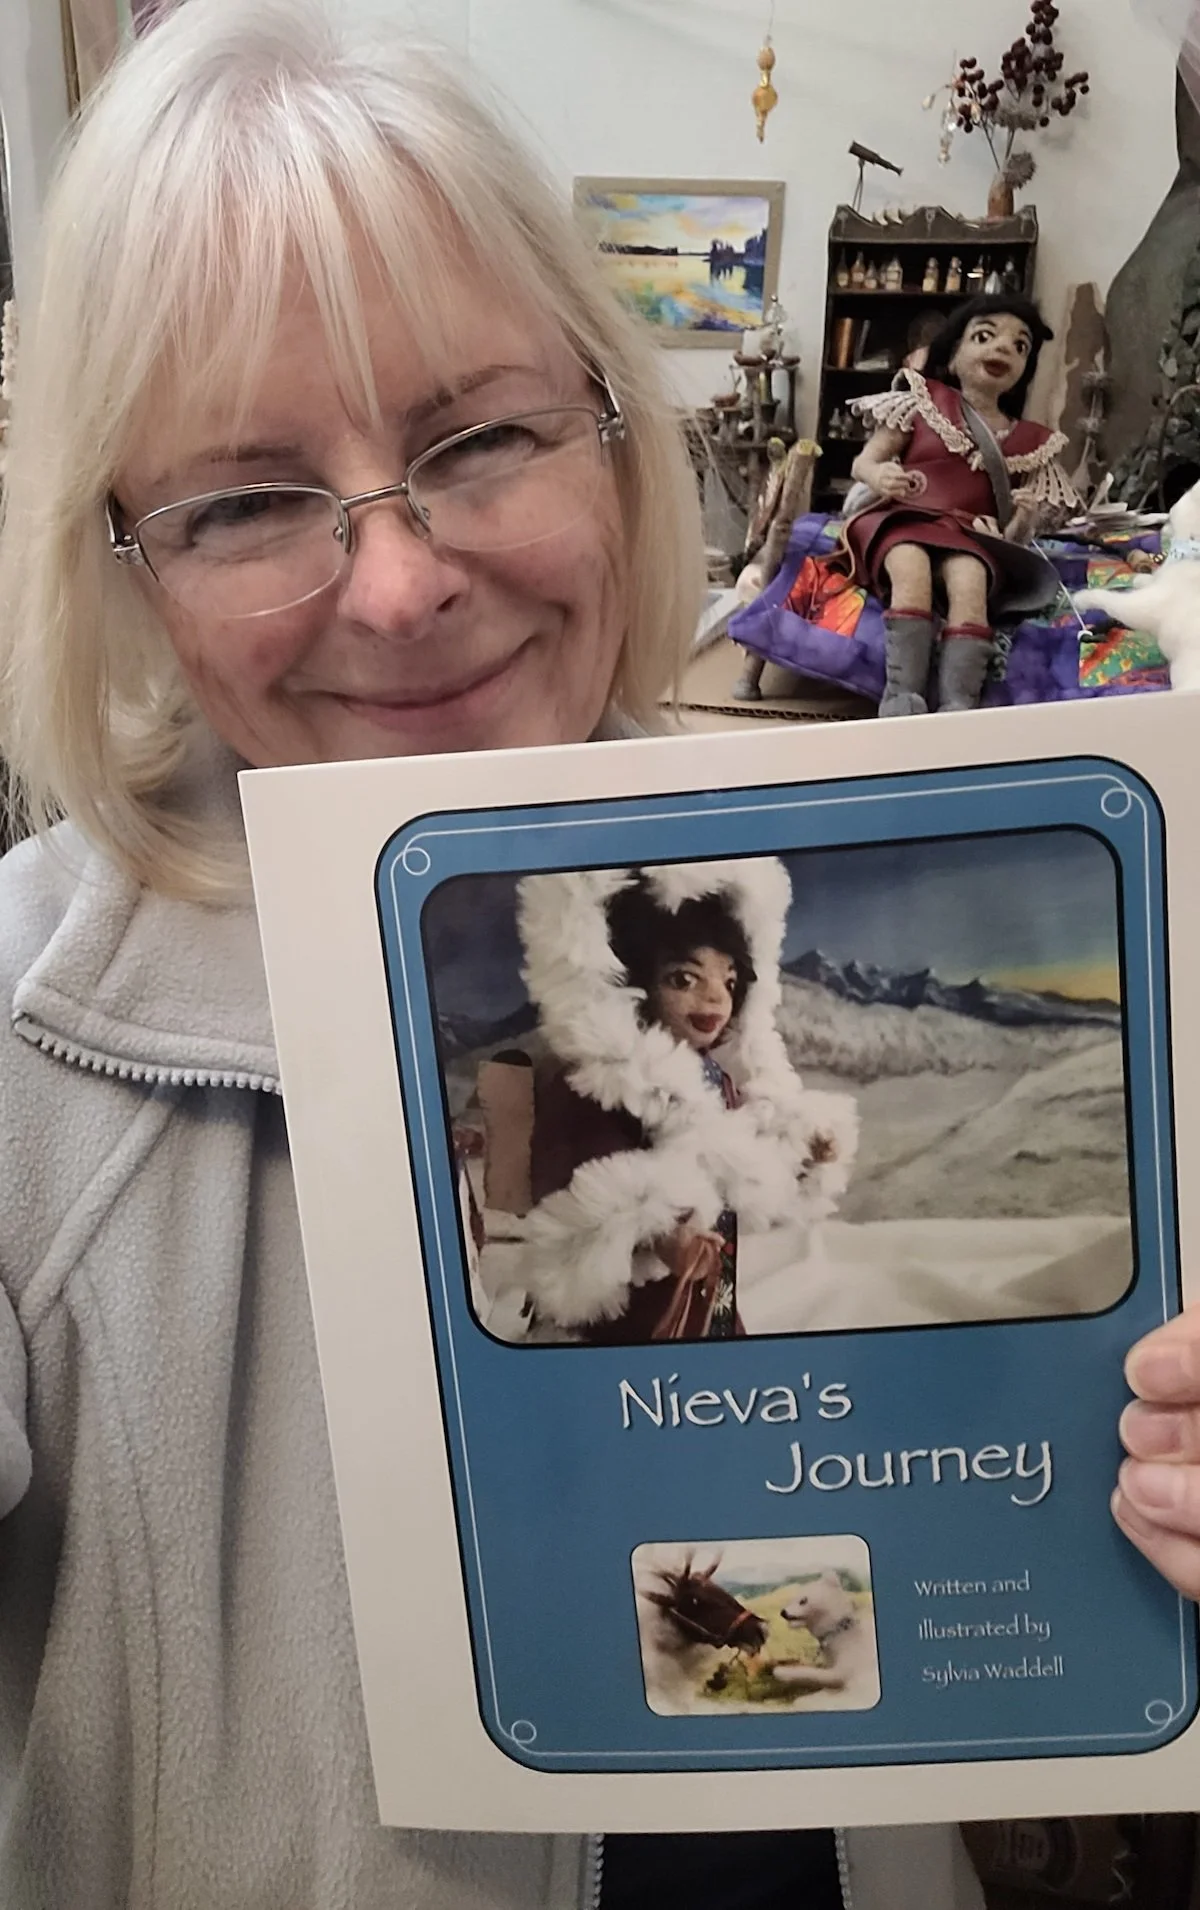
By the time I got to #2 imagination had taken over and the idea expanded beyond just stitching. This one uses part of the “ocean” that I made for my mermaid cavern for my book “Nieva’s Journey”. It incorporates beads, lace, and wood.

Slow Stitch #2, 12” x 12” Fabric, beads, lace, wool yarn, wool felt, wood
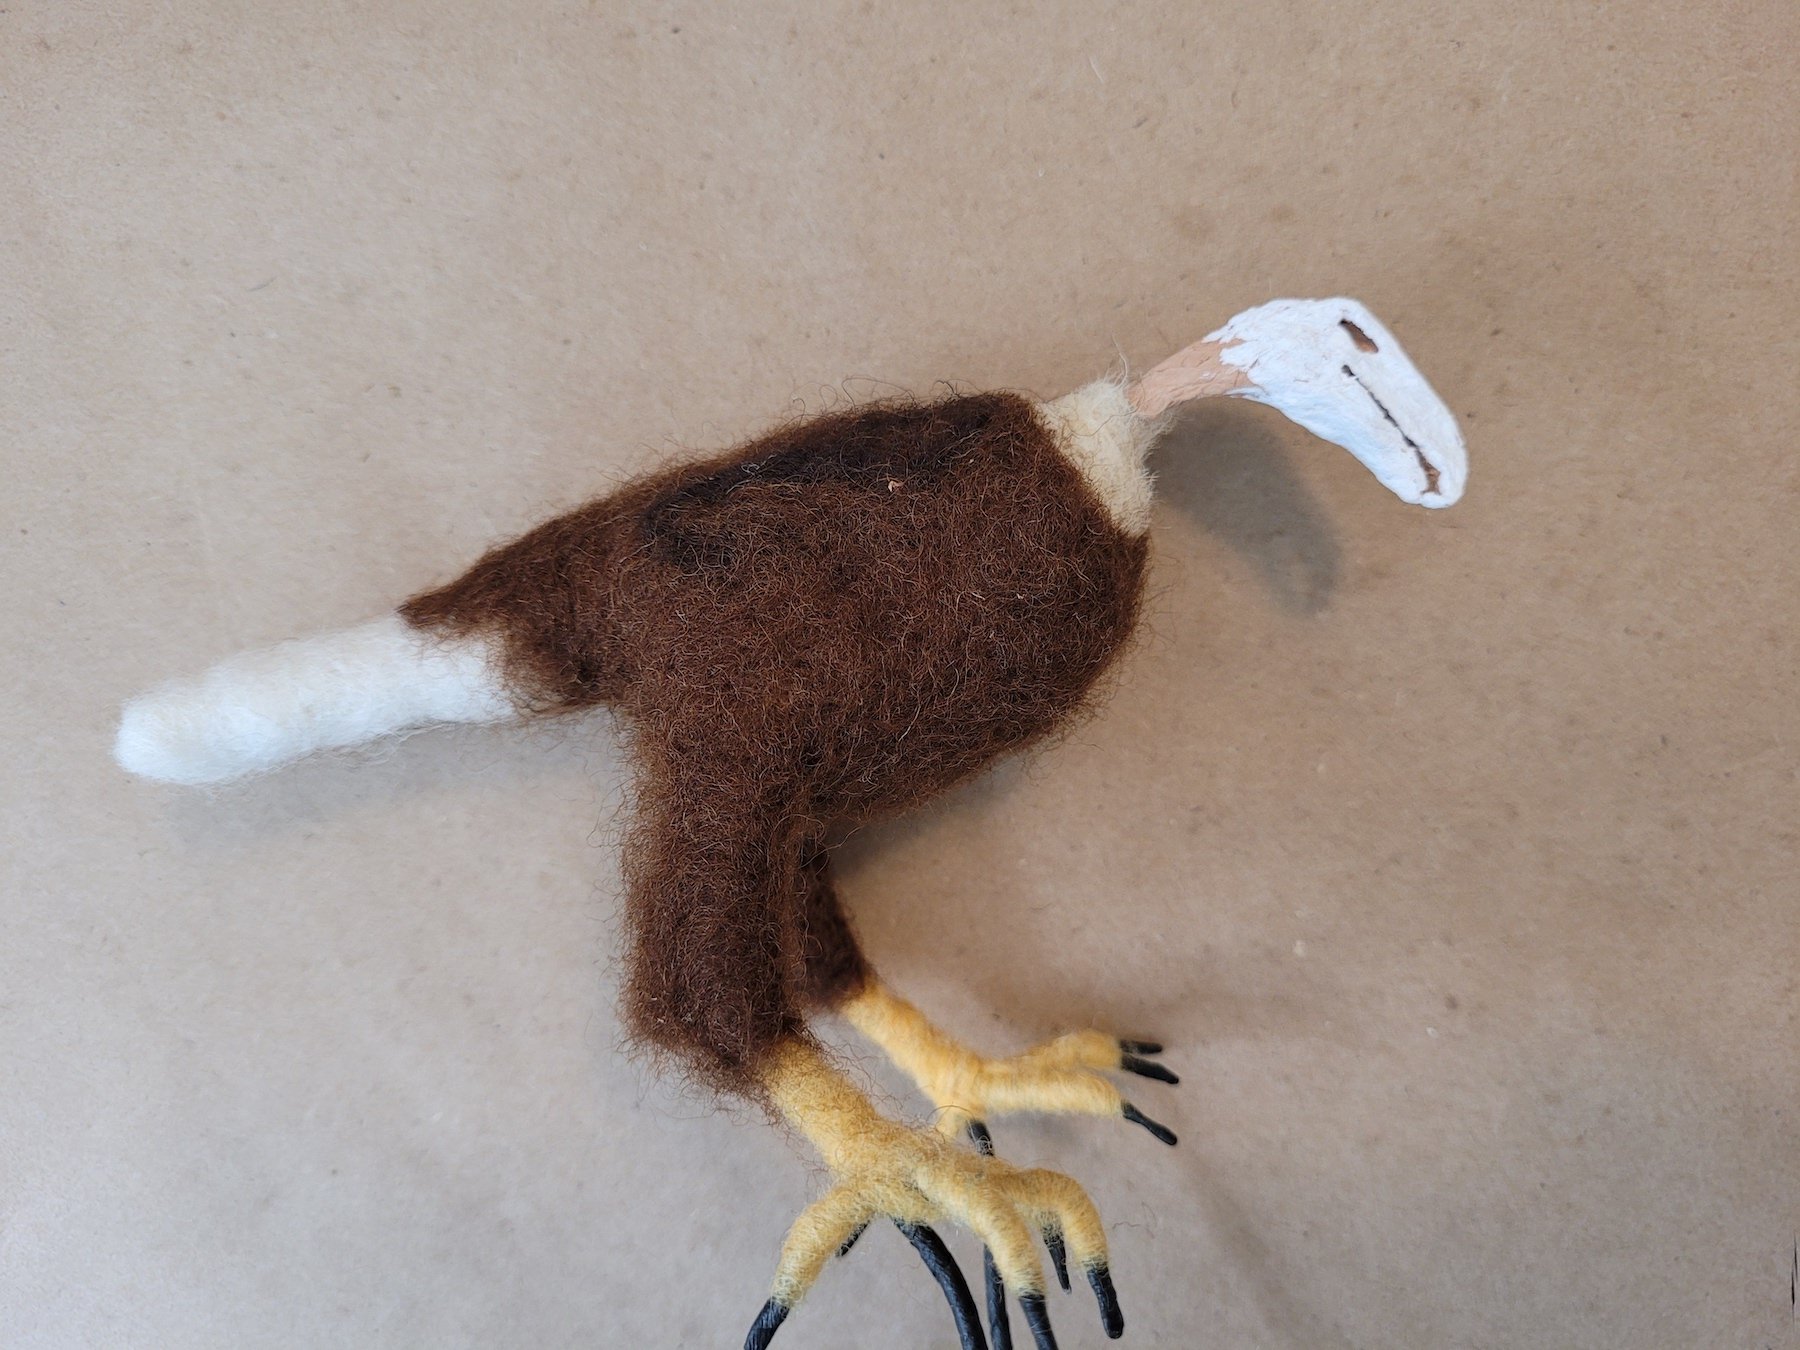
#3 I call my “forest floor” piece. I started by randomly laying down fabric pieces and working intuitively. The dark brown pieces are felt that I made for my Bald Eagle wings. On each of these pieces I have learned some new stuff — on this one I really went to town on the learning process making fabric “puffs” and learning Cast-On stitch, Turkey rug stitch, and really getting to grips with Bullion stitch and French knots. I love all the textures and colors in this piece.

Slow Stitch #3, “Forest Floor”. Fabric, wool felt, wool yarn, buttons, lace.
#4 was inspired by a visit to Kew Gardens on a recent trip to London. Kew is an amazing botanical garden that consists of 330 acres of gardens, and large beautiful glasshouses, showcasing over 50,000 plants from all over the world. I was totally enamored by the enormous lily pads in one of the glasshouses. You can see the scale of them in the photo below.

Actual giant lily pads at Kew Gardens

Slow Stitch #4, “Kew Gardens”. Fabric, buttons, beads, wool yarn, wood cutouts.

Showing the more three dimensional aspects of #4
So my “slow stitching” became much more 3D and took on another life of its own. I had fun adding buttons and wood cutouts and I even used a cut-off blouse cuff to create texture. I learned another new stitch (woven Picot) to create some free floating leaves.
I have several more fabric pieces in the works, including one I am calling “India”. I have long wanted to paint my impressions of India from a trip we made in 2006, but I have never quite succeeded. Perhaps with fabric my vision will finally come to fruition. I also have a painting commission to do - more on that soon.
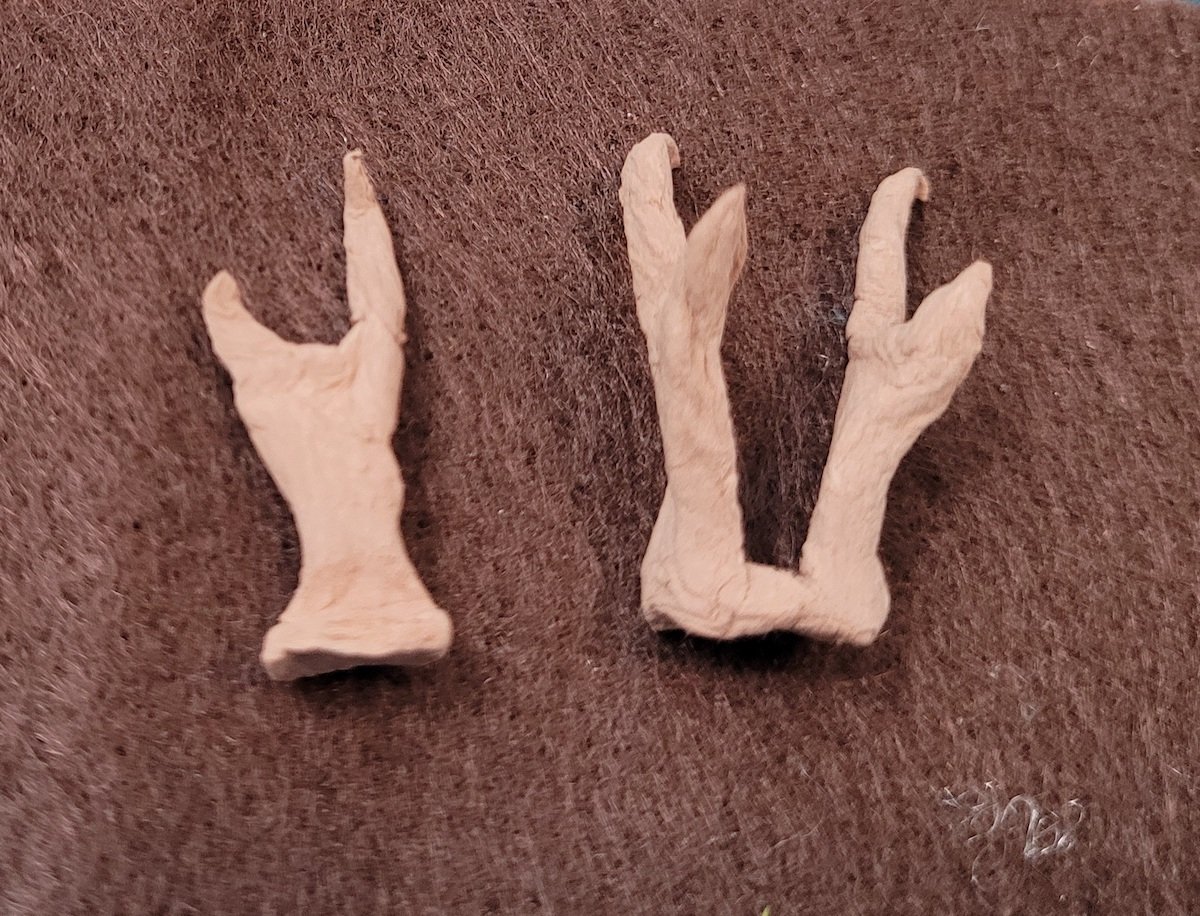
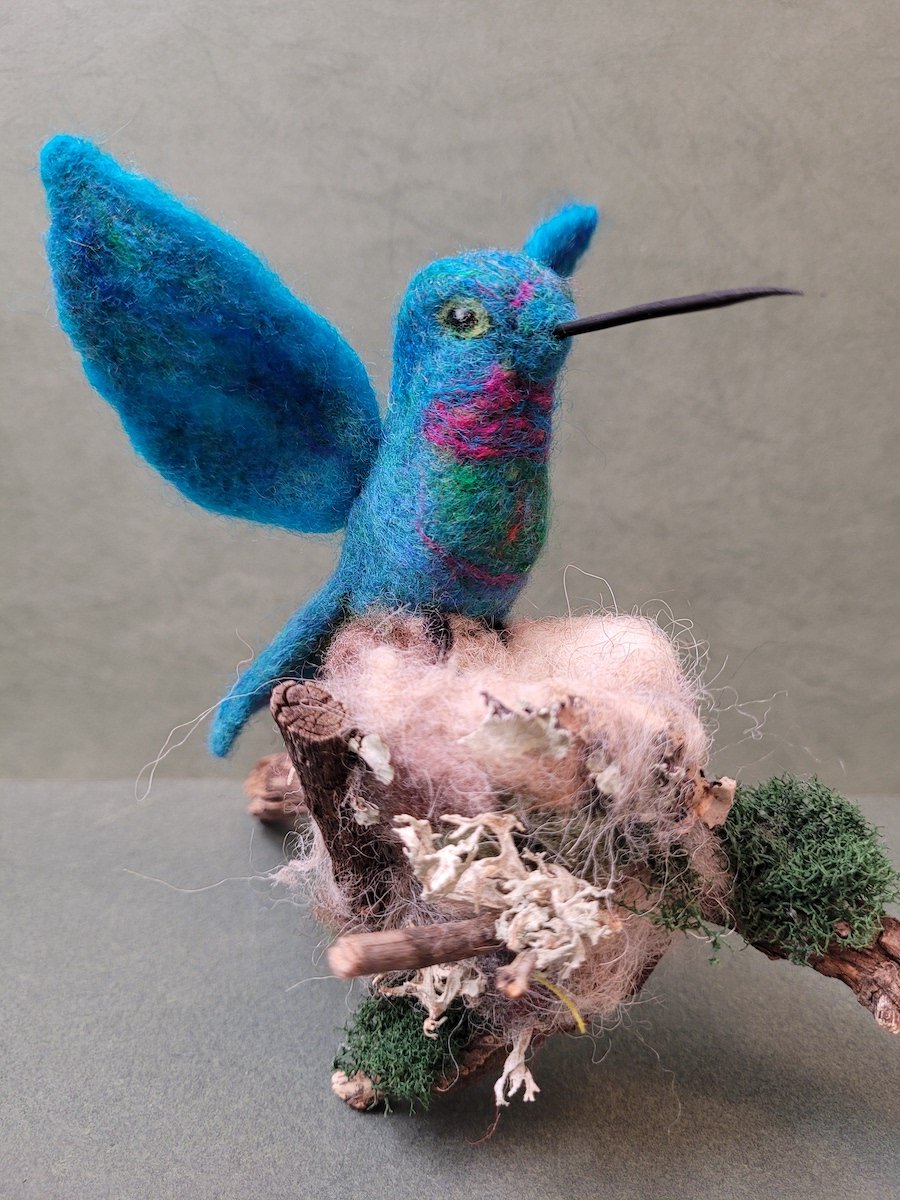
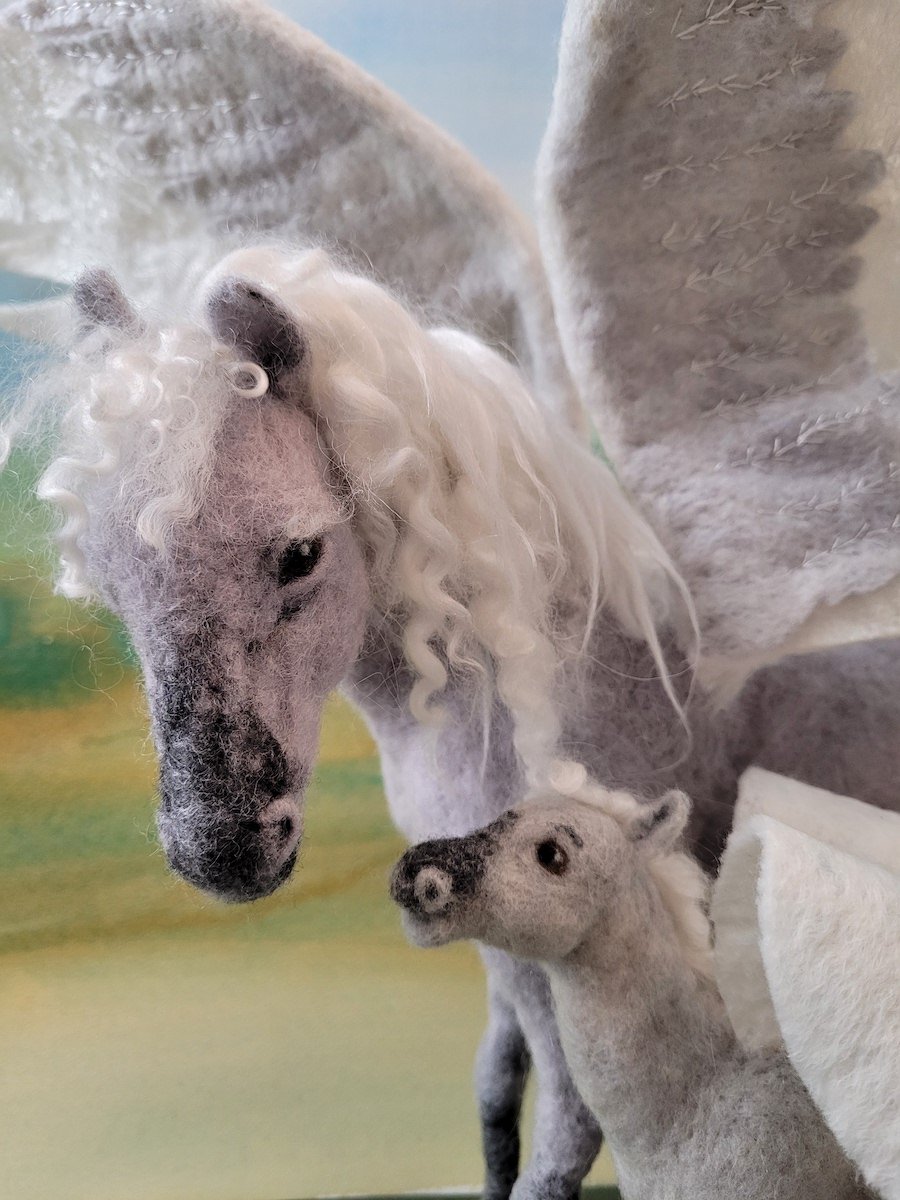
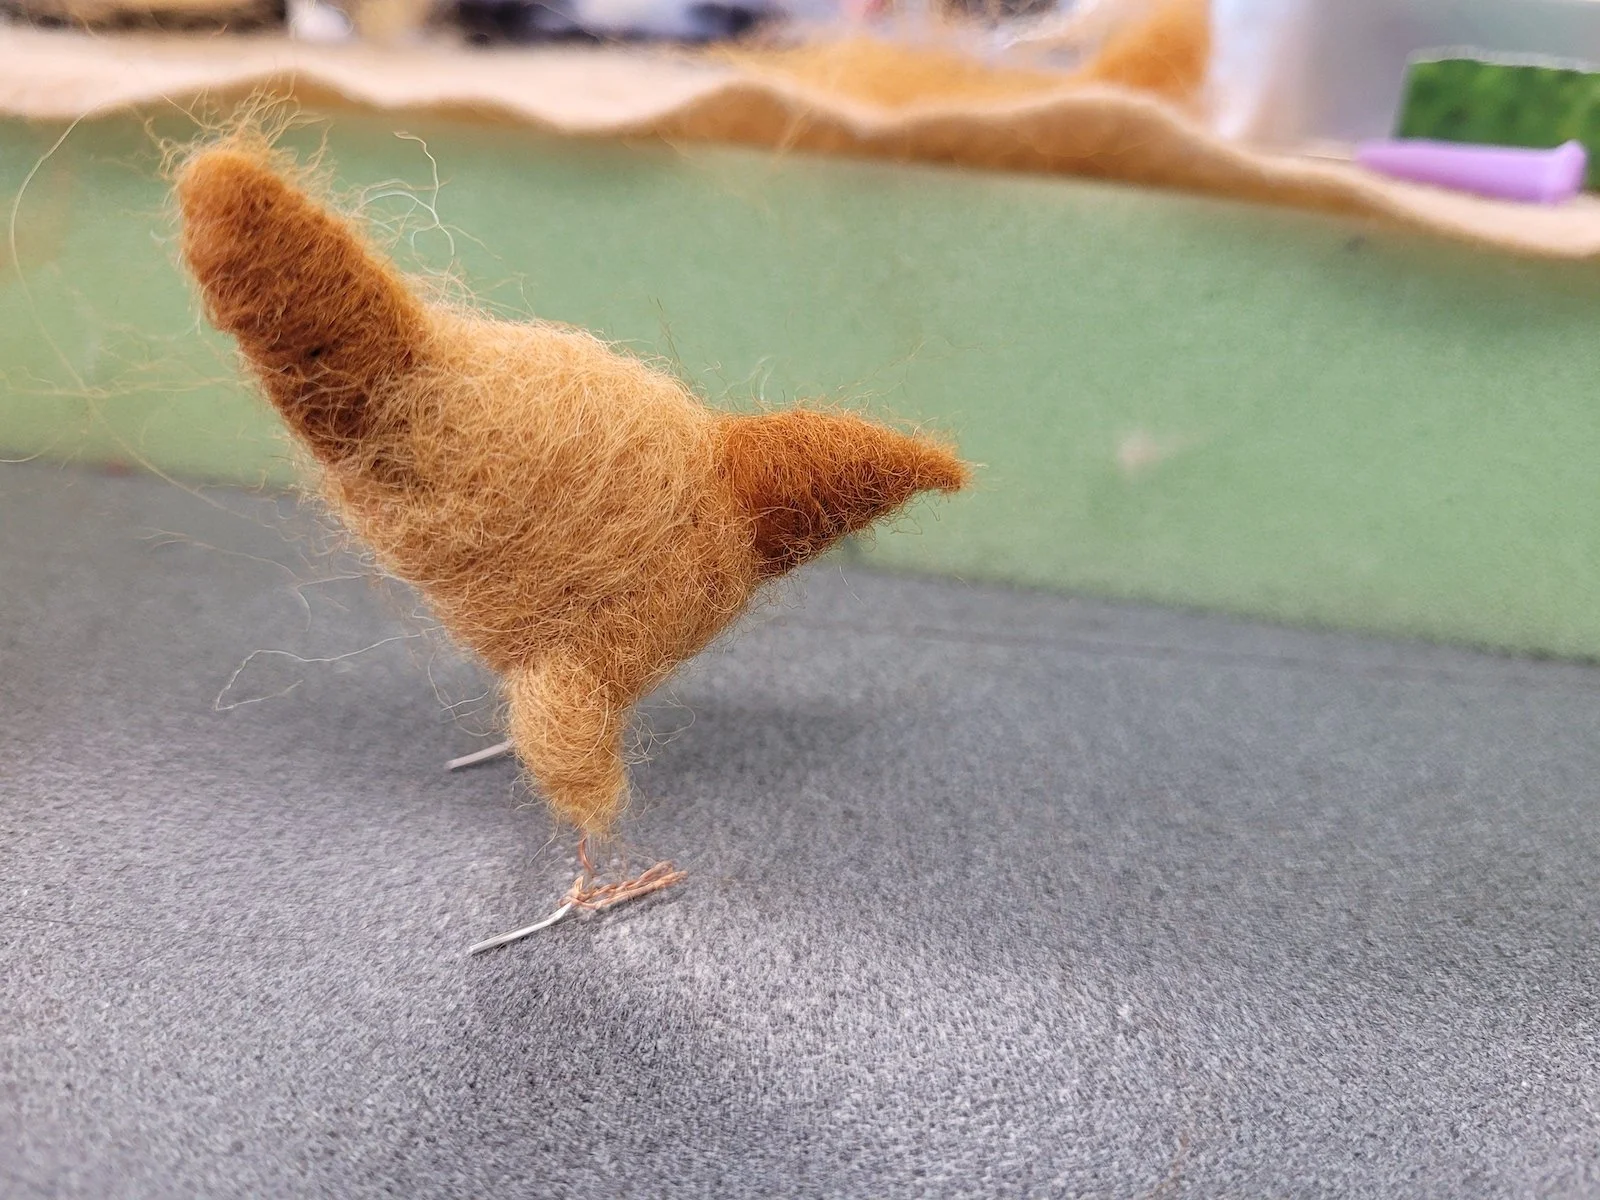
For those of you who love the felting, below are my two recent birdies.

Western Tanager. Wool, wire, clay.

Great Tit - a small British bird made for my sister’s birthday. Wool, wire, clay.